Contents
The CaterXPress File Selection Window
Uploading a new CaterXPress File
Requirements for the CaterXPress Import File
Overview
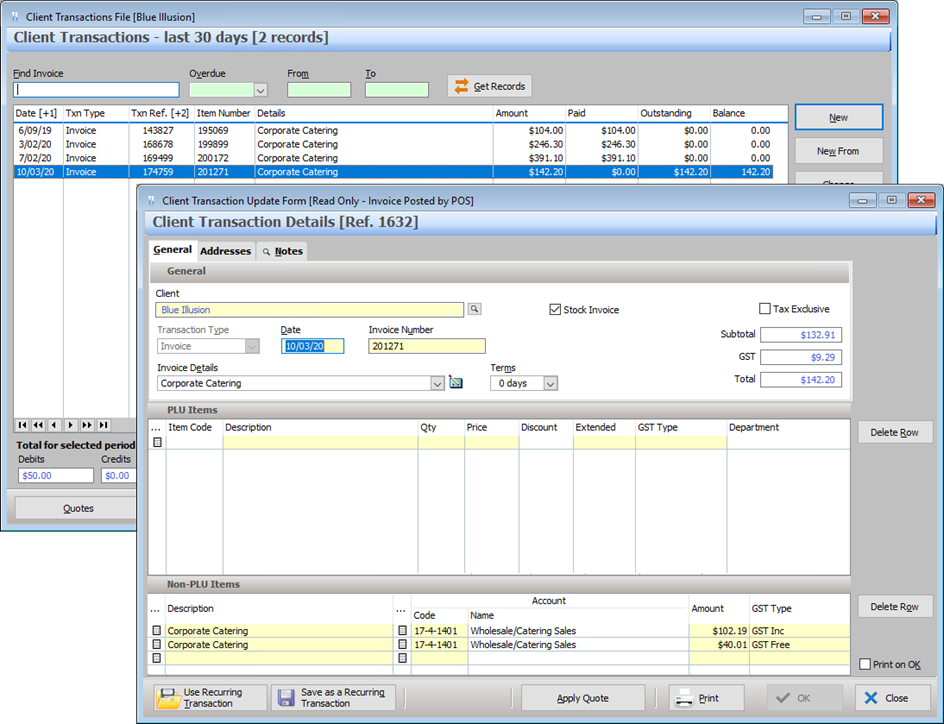
When a CaterXPress file is imported into Polygon Back Office invoices corresponding to the records in the file are created in the Clients File. These invoices will post revenue to a predefined GL account, form part of Accounts Receivable and reflect GST as appropriate.
The Invoice Details and Line Item Description(s) will use predefined text.
If a client does not already exist in the Clients File, the client record will also be created.
Polygon Back Office Settings
The following settings must be enabled in Polygon Back Office database (please note - the database must be licensed for the CaterXPress Interface):
Find these settings under File | Application Settings | Polygon Add-On Modules | Accounting | CaterXPress Interface.
- Default Revenue GL Account - Use the select icon to open the General Ledger File. Choose the revenue account to which all client invoices created by the CaterXPress interface will be assigned.
- Default Client Invoice Description - Enter the text you want to be included in the Description field on the client invoices -eg. Corporate Catering, or Online Catering Order etc.
- Upload CaterXPress File - Use the select icon to open the CaterXPress File Selection window.
The CaterXPress File Selection Window
The CaterXPress File Selection window will display all files which reside in the default directory on the cloud.
You may:
- Sort each list column by clicking on the column heading
- Search for a particular file name using the Find field
- Upload a new file using the Add Files button
- Remove a file from the directory by selecting the file from the list and using the Delete button
- Import the highlighted file using the Select button (use the process below to upload the required file first).
Uploading a new CaterXPress file
When you connect to your cloud database, directories are created on your local drive which replicate the default directories used to store your CaterXPress import files on the cloud.
These directories are:
\\redcat_app\......\Import\
You need to ensure that the new file you want to upload is copied to the relevant directory on your local drive.
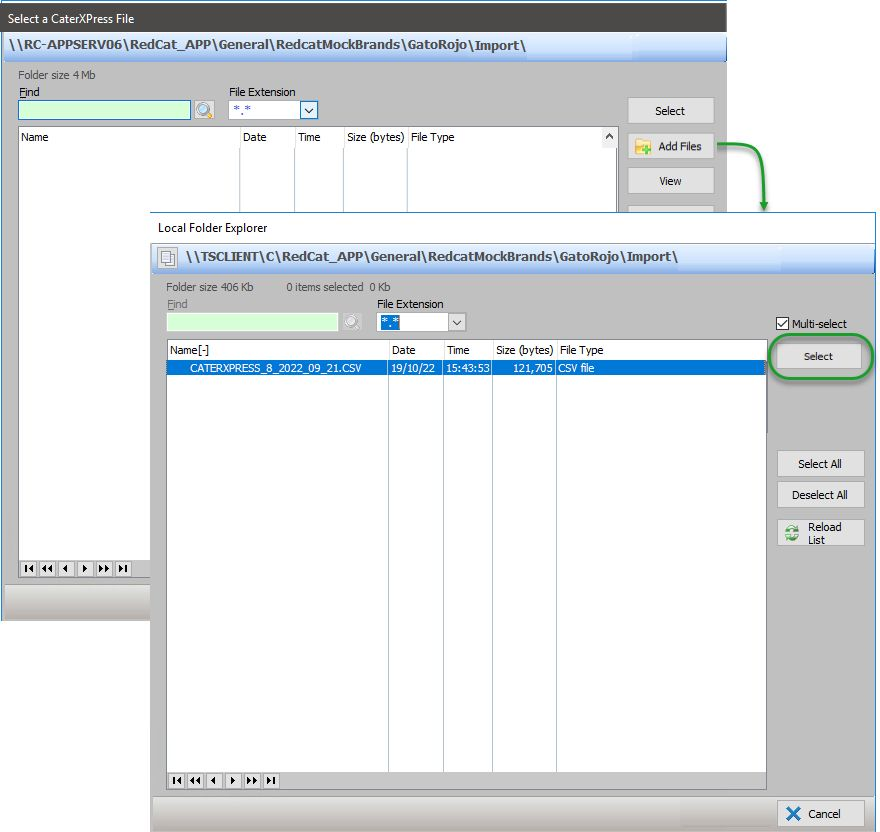
- Use the Add Files button, the Local Folder Explorer window will list the files present in the relevant directory.
- Highlight the required file and choose Select.
Requirements for the CaterXPress Import File
The import file must have a specific file name structure and contain date fields in a particular format.
The File Name must be CATERXPRESS_STOREID_YYYY_MM_DD.CSV
Eg. CATERXPRESS_8_2017_07_11.CSV
The StoreID is used to work out which DB to insert this data into.
The filename is case sensitive
The .CSV file extension is also case sensitive
The Date format within the file must be: MM/DD/YYYY HH:MM
Eg. 7/27/2017 0:00