Navigating the Email Templates List
Filtering the Email Templates List
Summary
Email Templates will allow you to customise the nine (9) email templates available.
You can change the:
- Subject line
- Reply To email address
- Email body ( in HTML)
- Header image
This will allow you to apply a 'feel' and 'tone' to the emails to better reflect your business. Reinforcing your business branding is as easy as applying the relevant media file to replace the default image.
The default email template could look something like this, with an image as the header section and informative text in the email body.

About Email Templates
If you create a customised email template, that template will replace the default template contained within Polygon Central.
If there is no customised email template for a specific email type, the default template will be used.
The customised email template you create must meet the criteria exactly, or the default email template will be used. For example, if you customise an Order Acknowledgement template for delivery orders placed with the Cremorne store it will only be used in that situation. Any other sale type for the Cremorne store will use the default template, and a delivery sale for any other store will use the default template.
How to Access
To access Price Levels:
- Login to Polygon Central
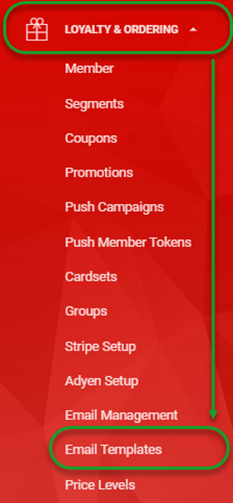
- Select Loyalty & Ordering from the menu
- Now choose Email Templates
A Polygon Central user must be assigned a User Role with the following privilege in order to access and/or modify Email Templates:
- Templates (Edit)
- Templates (View)
Navigating the Email Templates List
As email templates are added, they will be listed in the system as follows:
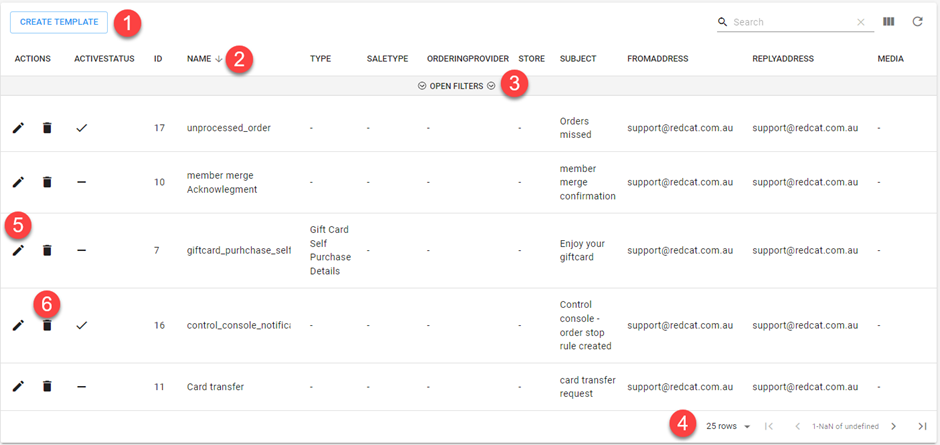
- Use the Create Template button to set up a new email template.
- Click on any column heading to sort by any column, an arrow will indicate if the current sort is ascending ∇ or descending Δ. Click on the column heading again to reverse the sort order.
- Click on Open Filters to open the filter bar (toggles to Close Filters).
- Visible Records:
- Increase the number of rows displayed on one page.
- Navigate multiple pages of Price Level records.
- Click on the edit action icon to open and amended a template.
Note: only fields that are not disabled can be edited. - Use the delete action icon to remove an email template.
Filtering the Email Templates List
With the filter bar open, (see point 3 above) options to filter the Email Template are available.
Filtering may be on:
- Active Status (toggles between Active, Not Active and All)
- ID (data entry field)
- Name (data entry field)
- Type (chosen from drop-down options)
- Sale Type(chosen from drop-down options)
- Ordering Provider (chosen from drop-down options)
- Store (chosen from drop-down options)
- Subject (data entry field)
- From Address (data entry field)
- Reply Address (data entry field)
Note: The Open Filters option toggles to Close Filters once clicked.

Multi-selecting from a list
To multi-select items from a list, you will click to select records as required, then click OFF THE LIST to insert your selections.
Adding an Email Template
To add an email template:
- Use the Create Template button
- Complete the Create Template form. The details below will assist you. Please note, not all fields are relevant to all email template types and only those applicable to the template selected will be displayed.
- Use the Submit button to save the email template when finished.

Fields marked with * are mandatory fields and must be entered for the template to be saved successfully.
ActiveStatus
Indicate if this template is active. Checked and the template is active, unchecked and the template is inactive.
Type
Select the template you want to customise from the drop-down list. Available are:
- Control Console Notification:
Sent when an Order Stop Rule is added, amended or removed from the Control Console. - Feedback:
Contains the link for a member to complete a Feedback Loop survey. - Forgotten password reset:
Contains the link for a member to reset their password. - Future Ordering Reminder:
A reminder email sent on the day a future order (pickup, catering pickup or catering delivery) is scheduled. The email for Catering Delivery orders fulfilled by UberDirect will contain the driver tracking link. - Gift Card Purchase Details:
Sent to the recipient of a Gift Card purchased online. Contains the number and verification code of the gift card, the value, and any message the purchaser has provided. - Gift Card Purchase Receipt:
Sent to the purchaser when a Gift Card is bought online as a gift for another person. - Gift Card Self-Purchase Details:
Sent when someone purchases a Gift Card online for themselves. It contains the number, verification code and value of the gift card. - Order Acknowledgement:
Sent to customers when an online order is completed, it contains all the details relevant to the order. - Verify your email:
Sent when a new member registers in the loyalty program. It contains the link required to verify the email address included in the member profile. - Welcome:
Once verification is complete, this email is sent to confirm the member's registration in the loyalty program.

Sale Type
Only available for template Type: Order Acknowledgement.
Choose the required Sale Type(s) from the drop-down list.
If you leave this field blank the email template will apply to all sale types.

Ordering Provider
Only available for template Type: Order Acknowledgement.
Choose the required Ordering Provider(s) from the drop-down list.
If you leave this field blank the email template will apply to all ordering providers.
Stores
Only available for template Type: Order Acknowledgement.
Choose the applicable Store(s) from the drop-down list.
If you leave this field blank the email template will apply to all stores.

Enter Template Name
Enter the name to identify this email template. This name must be unique and it is recommended that you be as descriptive as you can. For example - Order Acknowledgement: Delivery Only: Cremorne Only.

Email Subject Line
Enter the text to be shown in the Subject Line of the email the recipient will get when this template is used.

Email to Reply To
Optionally, you can specify the email address that will be used if the recipient chooses to reply. In some circumstances, you may want this to differ from the From Address (this is configured and standard for all emails). For example, the emails may all be sent from info@redcat.com.au, but emails pertaining to online orders may need to reply to orders@redcat.com.au while emails regarding membership may need to reply to loyalty@redcat.com.au.

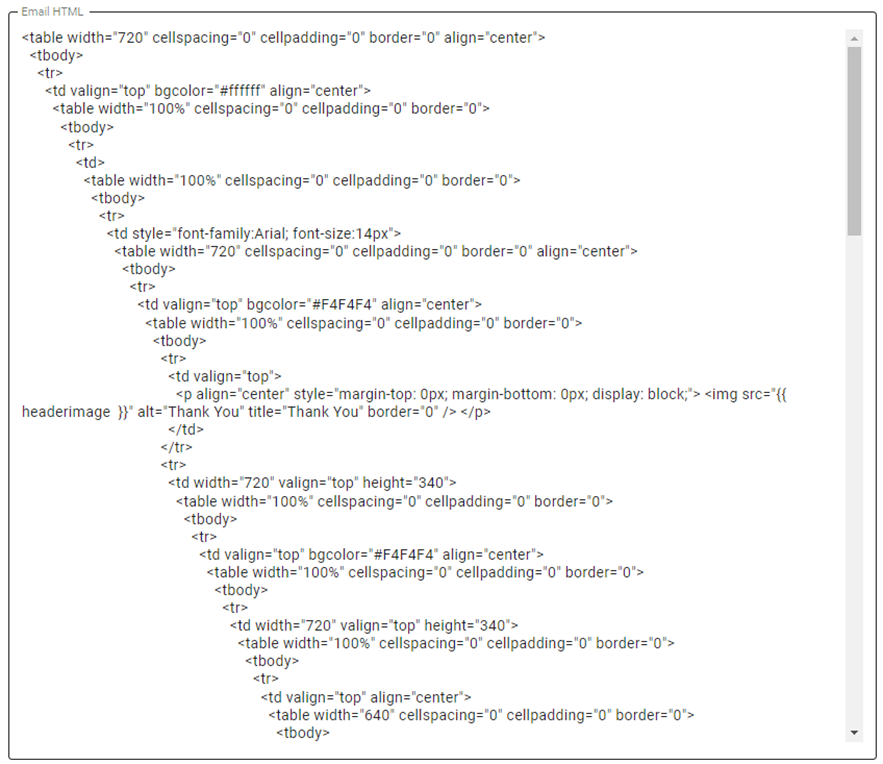
Email HTML
When you select the template Type, the default HTML is automatically added to this section. You can carefully change a few words as required, or you can remove the contents and insert a whole new email in HTML format.
Media
If you want to change the default image used for this email, you can assign your own image here.
The recommended size is 720 x 340 pixels.
Acceptance image types are gif, bmp, jpg, jpeg, png, webp and svg.
The file size limit is 15 MB.

Article Change Log
| Date | Record of Changes | Author |
|
June 2024 |
Added Feedback to the template types. |
S Black |
|
August 2025 |
Added Future Ordering Reminder to the template types. |
S Black |