- Select the item/s to be sold - the items are displayed in the subtotal window:
- Finalise the sale via the Pay button or a Fast Finaliser button (see below).
Contents
To Finalise a Sale Using the Sale Settlement Screen
Other Features of the Sale Settlement Screen
Fast Finaliser buttons
Sales may be finalised using Fast Finaliser buttons programmed on the product keypads. Fast Finaliser buttons are used to speed processing especially in quick service restaurants as they negate the need to swap between screens on the POS and most are a ‘one touch’ option.
Fast Finaliser buttons may be programmed for:
- Full Cash Amount (no opportunity to enter the cash amount tendered, no allowance for tips, and no calculation of any change).
- Dynamic Cash Amount (allows entry of tendered cash amount, inclusion of a tip if required, and calculates the amount of change due to the customer).
- Fast Cash Denominators (automatically finalised the sale with the value of the denominator chosen and calculates change accordingly. The amount chosen must be equal to or greater than the subtotal of the sale.)

- Full EFTPOS Amount (button invokes integrated EFTPOS for the full amount of the sale, tipping may be included if the pinpad allows).
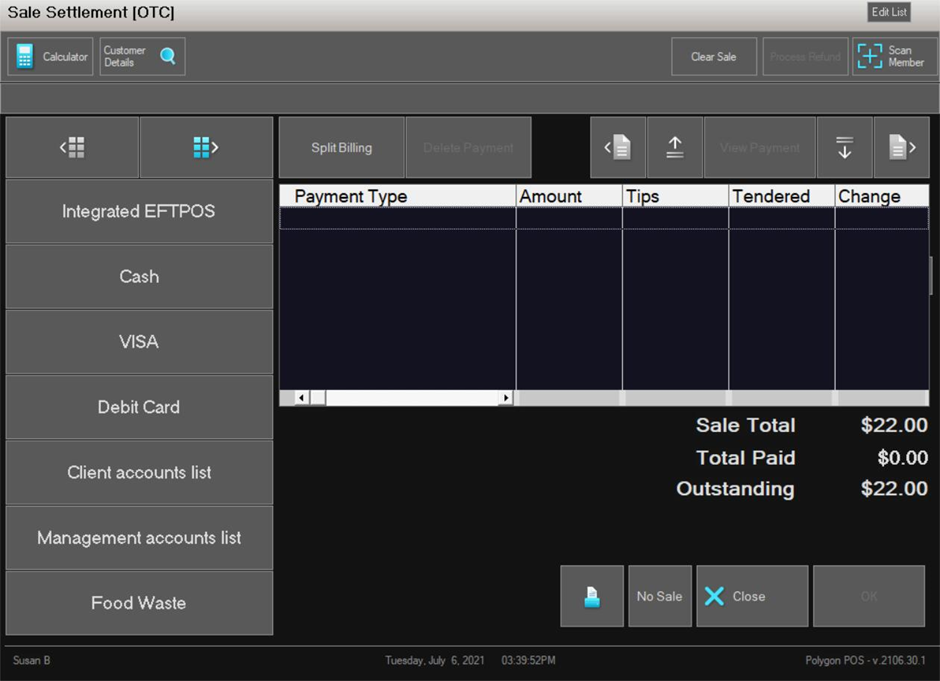
The Sale Settlement Screen
This screen is accessed after entering customer orders by clicking the Pay button at the bottom right of the numeric keypad on the product keypad screen.
The Pay Screen can be used to:
- Finalise Cash sales
- Finalised Non-cash sales (eg. Eftpos, Management and Client accounts)
- Finalise Sales that are being finalised to more than one media type (eg. Cash and Eftpos)
- Record Split Billing
- Record Tips
- Clear (void) sales
- Issue Refunds.
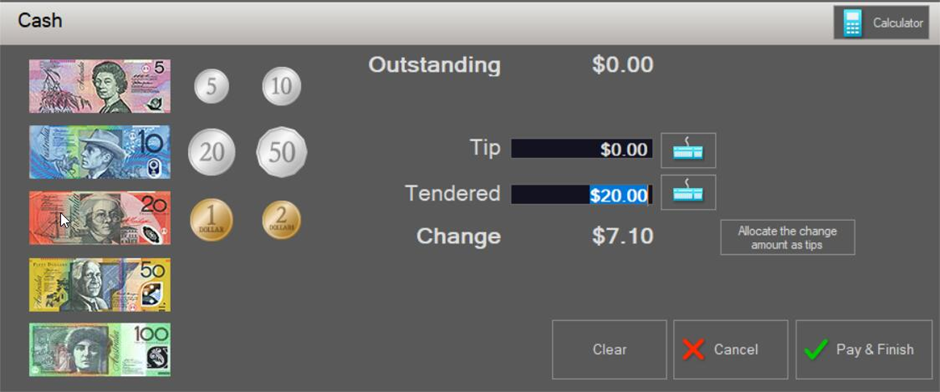
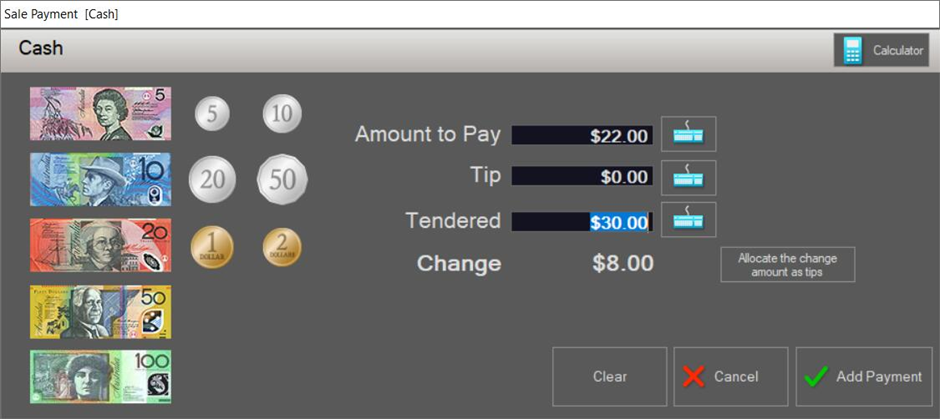
To Finalise a Sale Using the Sale Settlement Screen
-
Choose the media type from the media keypad on the left hand side of the screen.
-
The outstanding amount of the sale is shown in the Amount to Pay field (this can be adjusted if you only wish to enter a partial payment)
-
If you wish to record a tip, this can be entered in the Tip field.
-
For cash payments you can use the denominator buttons to enter the amount tendered, or enter it directly in the Tendered field using the keyboard icon.
-
For non-cash payments, the outstanding amount of the sale will already be listed in the Tendered field (this can be adjusted if you only wish to enter a partial payment).
-
Choose the Add Payment button to save the payment.
Note: if entering multiple partial payments, repeat the above for each media type.
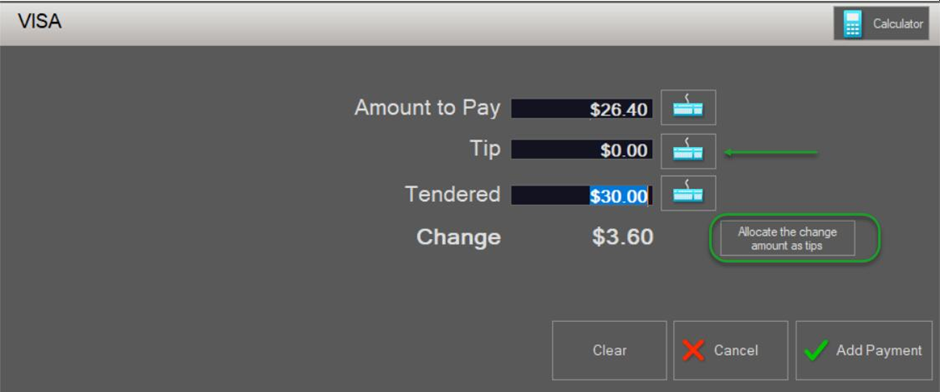
Recording Tips
As soon as a media type is selected for payment, the opportunity to record a tip is available. The amount can be entered directly into the Tip field using the keyboard icon and the Tendered amount will change accordingly, or you can enter the total amount Tendered and use the Allocate the change amount as tips button to apply the tip.
Note: If you are utilising the Staff Tip Report to pay the staff tips from the cash drawer at the end of each shift, all tips need to be Subtracted from cash takings regardless of which media they apply to.
Tips and Integrated EFTPOS
If the media type is integrated EFTPOS, tips should be applied by the customer using the EFTPOS pinpad. Any tips entered in this manner, will be applied and visible in the Tip field of the payment record after the integrated EFTPOS payment has been finalised.
Other Features of the Sale Settlement Screen
There are a few options included in this screen which are designed to aid with sale management.
Clear Sale

The Clear Sale button is used to clear a sale entirely (void). It will remove all sale items and media payments. This action is logged and will be reported in the POS Exceptions report in Polygon POS Management.
The total value of the void will also be included in the end of day reset.
Process Refund

The Process Refund button is used to process a full or partial refund. It requires a POS Staff Member to enter their password.
Print Button

If you wish to print a receipt for the customer, click on the Print button.
No Sale Button

The No Sale button will open the cash drawer without finalising a sale. For example, you may use this button at the end of the trading day to get access to the cash and receipts while completing your end of day procedure.
Note: If your No Sale button is programmed as password protected only users who have Application Wide Permissions | Cash Drawer | Open Cash Drawer enabled in their POS Staff security role will be able to perform this action. Each time the No Sale button is used this is logged and recorded in the Exceptions Report.
Scan Member
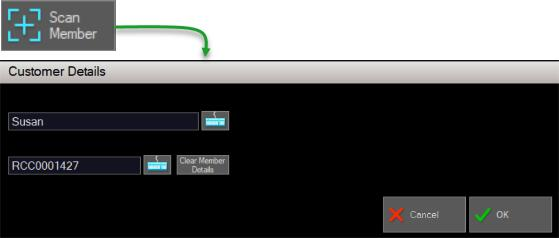
The Scan Member button can be used to assign a loyalty member to the sale.
If a member is already assigned you can view their name and membership number here.
View Split Billing
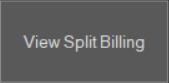
Once a payment is recorded, the Split Bill button toggles to View Split Billing. This button will allow you to view any split billing recorded.
Delete Payment
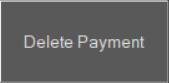
The Delete Payment button will allow you to delete a highlighted media payment already recorded against the sale.
If the payment has already been saved, you will be prompted to make changes to a finalised sale before the deletion is made, and the deletion will be recorded and reported in the POS Exceptions report in Polygon POS Management.
View Payment
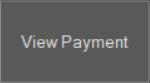
The View Payment button will recall the details of the media payment and display them for you. Please note: this is a read only view and changes cannot be affected. If you want to make changes to the payment you will need to delete it and process another payment.
Finish
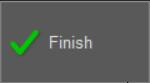
Use the Finish button when new payments have been made to save the payments against the sale and put the sale away.
Cancel
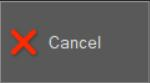
Use the Cancel button when you want to exit the Sale Settlement Screen without saving changes or new payments.
Close
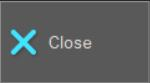
Use the Close button to exit the Sale Settlement Screen when no changes or additions have been made.
Edit List

The Edit List button allow you to configure the columns shown in the list of payments (or any other list of data where the Edit List button is shown).
When you use the Edit List button, the pop up menu is displayed:
- Set listbox columns
- Revert to default
Choosing Set listbox columns will open the List Columns window and allow you to include or exclude columns by selecting or deselecting them in the list and using the Select button.
To revert the list box to default configuration, use the Revert to default option.
Note: Both options will require the entry of the POS User password and only users who have Application Wide Permissions | POS Terminal | Set Listbox Columns enabled in their POS Staff security role will be able to perform this action.
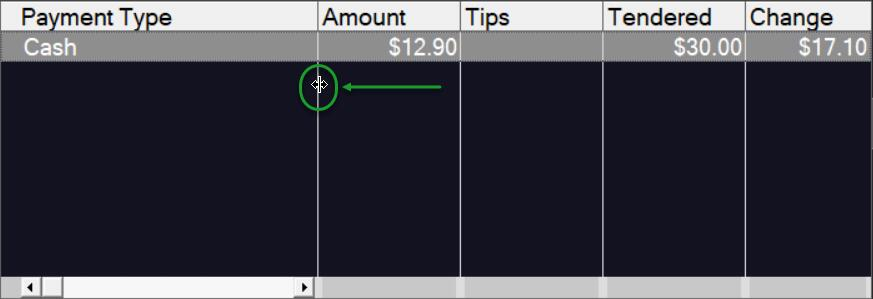
Resizing the Payment List Columns
The columns displayed in the Payment List (and any other list) can be resized by dragging the column border.
You may revert changes in column width to the default sizes by clicking on the Edit List button and choosing Revert to default.
Note: Only users who have Application Wide Permissions | POS Terminal | Set Listbox Columns enabled in their POS Staff security role will be able to perform this action.
Sorting Data in the Payment List Columns
Data displayed in the payment list columns can be sorted simply by clicking on the column heading. Clicking again will sort the column in reverse order.
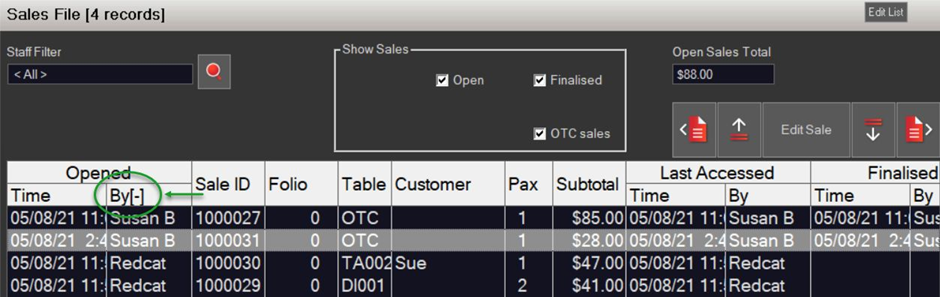
Sorting will be denoted by a + or - sign next to the column heading.
Sorting will be removed, and the list columns returned to the default state when the screen is closed.
The next article in this series is: