Contents
Accessing Staff function
As the kiosk is a customer self-ordering unit, there are no buttons that would enable the general public to access the Staff functions on the kiosk.
At the kiosk, you can push and hold in the top right corner.![]() Click and hold in the top right corner to access the Staff functions
Click and hold in the top right corner to access the Staff functions
(a valid POS Staff member password is required)
The Staff Screen
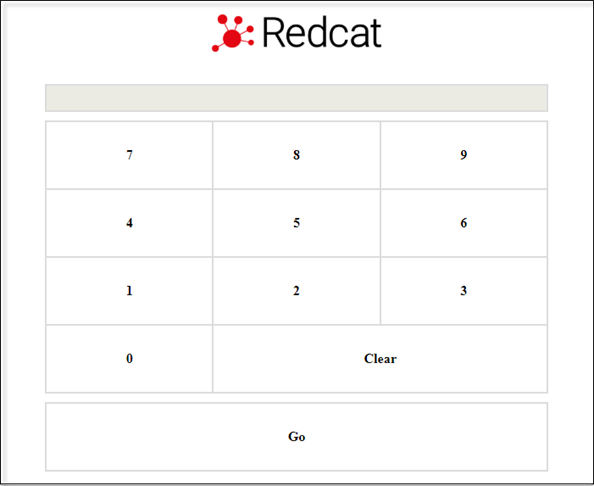
Use the touch screen to enter your POS User Password and choose the Go button.
This is the same password that you use to access the POS terminal.
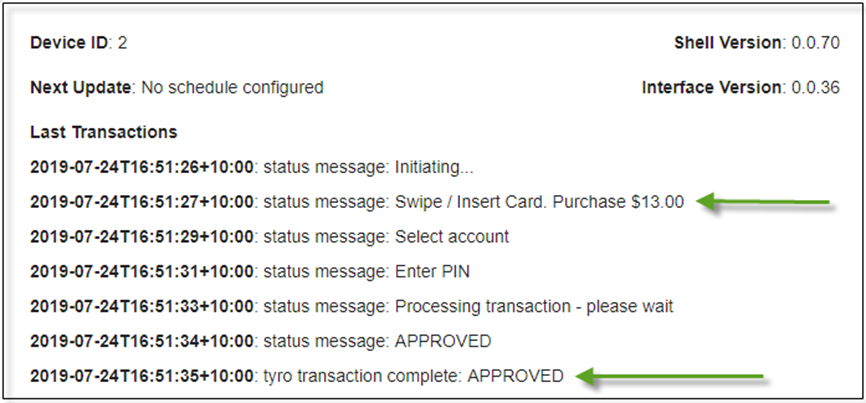
The Staff screen provides basic information regarding the Kiosk and will show a set of buttons to access the functions available.
The following details are listed for information only.
- Device ID
- Shell Version
- Next Update
- Interface Version

Put in Unavailable Mode
If for some reason, the kiosk is not ready for customer use (no internet connection, printer, scanner or eftpos pinpad awaiting repair etc), you can use this button to put the kiosk in Unavailable Mode.
A customer-supplied graphic can be displayed here. If no customer supplied graphic is installed the default screen will be the Redcat logo as shown.
To return the kiosk to full operation, simply access the Staff function again, enter your password and Return to Kiosk.
Test Printer
Using this button will send a dummy receipt clearly labelled Kiosk Printer Test at the top to ensure that the printer is correctly programmed and ready for customers to use the kiosk.
At the bottom of the docket will also be printed information regarding this kiosk and printer.
For example.
TEST PRINT
KIOSK ID: 2
PRINTER NAME: RCLAP39
Last Transactions
The Last Transactions will show a log of the eftpos communication between the kiosk and eftpos for the current sale. As soon as the sale is completed (the Next Order or Done buttons are used) the log will be cleared.
This information is included in the event that the eftpos payment is processed but for some reason the submission to the Polygon Central server fails (perhaps the internet connection is lost after successful payment but before successful submission). It will allow you to confirm the amount of the transaction and that the payment has been taken (approved). Now that you have confirmation, the customer can be taken to the counter and provided with a refund.
The kiosk should now be placed in Unavailable Mode until the issue can be resolved.
Open Payment Logs
This button provides access to the logs of the Tyro eftpos transactions processed through this kiosk. Note: this log file is reset each time the kiosk is restarted.
You may use the Display Data button to view the listing on the screen.
If Tyro have requested the log files for investigation, you can display the data, then use the Send to Tyro button to upload the files directly to Tyro.

Restart Kiosk
Use the button to restart the kiosk application. You may need to do this when requested by Redcat Support Staff.
Return to Kiosk
To return the kiosk to operation for customers:
- use the Restart Kiosk button, or
- use the back arrow in the top left corner.
Article Change Log
| Date | Record of Changes | Author |
|
Dec 2022 |
Applies to version 0.0.142 onwards. |
S Black |
|
April 2025 |
Updated as access method to Staff functions has changed. |
S Black |