The following buttons appear on the Toolbar on the Product Keypad screen. These buttons are available from the Product Keypad Screen only.

Power button
This button exits the POS terminal application.

It may only be used by those staff members who have Application Wide Permissions | POS Terminal | Exit the POS Terminal enabled in their POS Staff security role. They will be required to enter their password to close the POS software if you have enabled the Password protect the application Exit button setting in Polygon POS Management Location System Settings | Security.
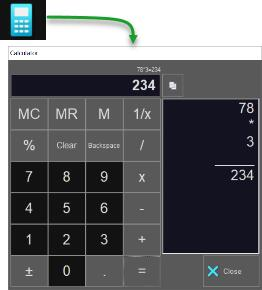
Calculator
This button will load the Windows Calculator which can be used by staff as required.
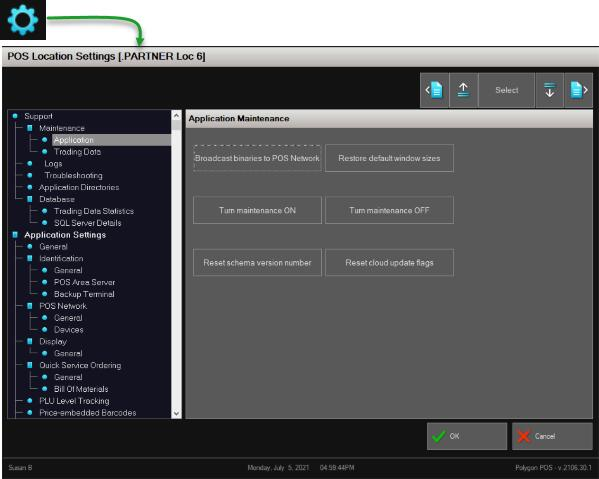
Settings
This button displays information regarding the terminal’s configuration and programmed settings. It is intended as a tool to assist RedCat support staff with maintenance and support information, access to logs and troubleshooting functions.
Updates

Use the Updates button to download updates sent from the BOH.
See the section Applying Updates for more detailed instructions.
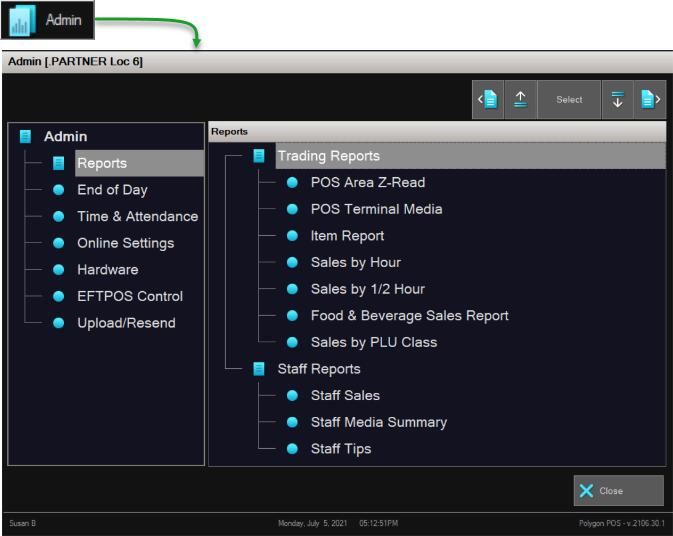
Admin
The Admin button will provide access to the administrative functions contained within the POS. It may only be used by those staff members who have Main Menu Permissions | Toolbar | Admin access enabled in their POS Staff security role. They will be required to enter their password to access.
The Admin section includes:
- Reports
- End of Day
- Online Settings
- Hardware
- EFTPOS Control
- Upload/Resend
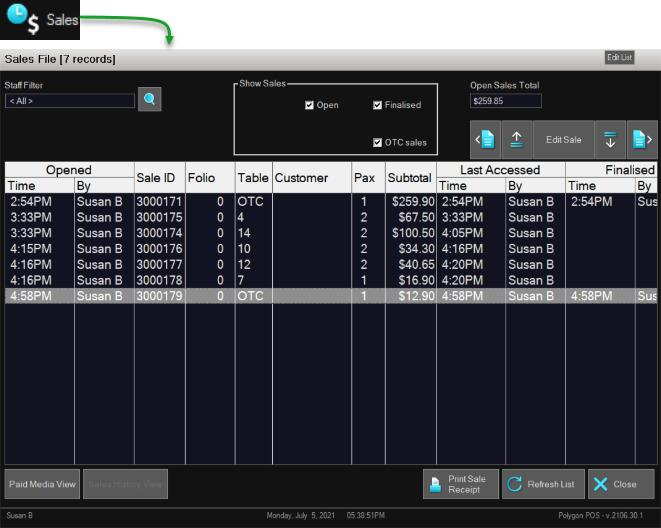
Sales
The Sales button displays the Sales File that contains listings of all sales in the master terminal. The list can be filtered to include any combination of Open, Finalised and OTC Sales. The list can also be filtered to show only those sales applicable to a specific staff member.
Navigating the Sales History File
Within the Sale File:
- Choose to include Open, Finalised, or OTC Sales in the list by placing ticks in the relevant boxes in the Show Sales section.
- Use the Previous/Next Page/Item buttons to navigate to a particular sale, or simply touch the sale to select.
- Use the Edit Sale button to recall a sale.
- The total value of sales in the displayed list is shown in the top right hand corner.
- You may view the Sale Balance Limit of an open table by scrolling to the right. The ability to set a Sale Balance Limit requires a Set Table Balance Limit button on the keypad. This can be programmed in Polygon POS Management | Product Keypads | Other Keys | Set Sale Balance Limit.
- Use the Reprint Sale Receipt button to print another copy of the customer receipt (tax invoice).
- The Paid Media View button requires a valid password and changes the view to include ONLY sales either fully or partially finalised and detailing the media for each sale.
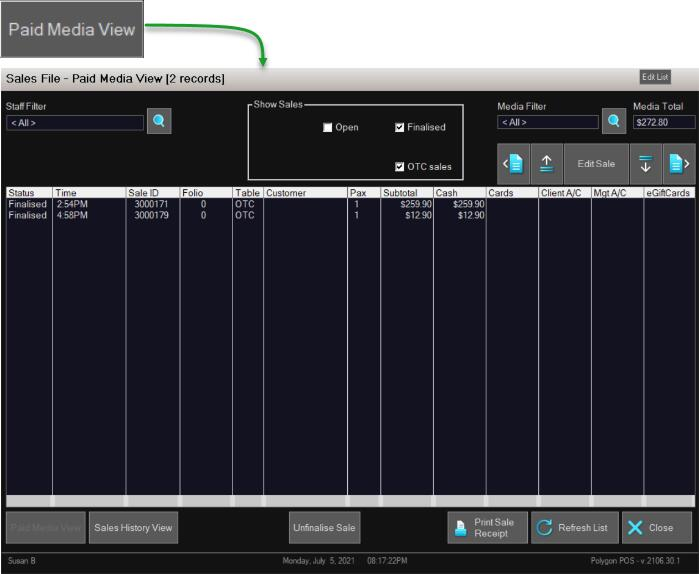
- While in the Paid Media View, you may choose to select a sale (that is not an OTC sale) and use the Unfinalise Sale button to recall that sale, move to the Sale Settlement Screen and remove the payment either by Deleting the Payment, or Processing a Refund.
- You may use the Media Filter to display only those sales finalised with a specific media type, and the total value of these sales will be shown.
Editing a Sale
To recall a sale for editing:
- Access the Sales File
- Select the relevant sale
- Use the Edit Sale button to open the sale.
The details of the sale will now be displayed and items may be added or removed (using the Clear button). A customer receipt can be printed using the Printer icon. Payments can be added, deleted or refunded by moving to the Sale Settlement screen using the Pay button. The sale can be resaved using the Save button.
Web Orders
The Status of your Web Ordering Processor is shown in the top right hand corner. You can toggle your store status between Offline and Online using the Manage Store Status function.

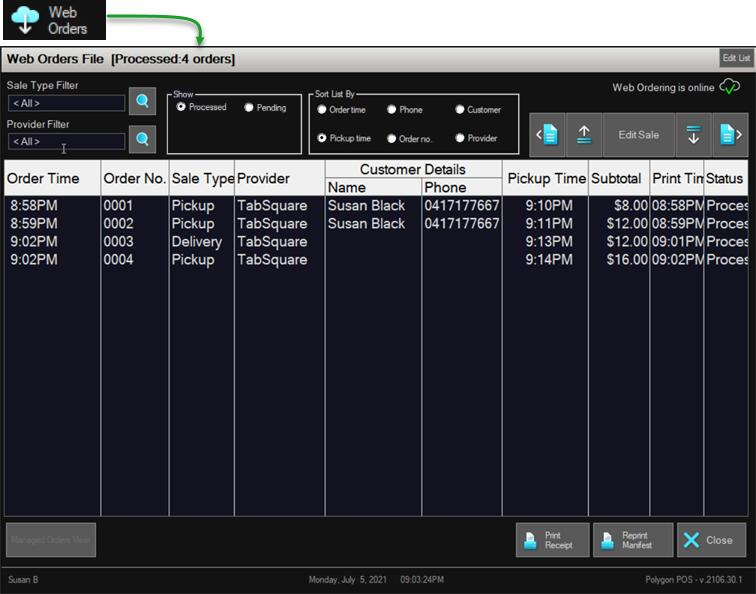
The web orders file can be filtered by Sale Type or Provider.
You can choose to show Processed or Pending orders by selecting the relevant radio button.
You can sort the list by Order Time, Phone, Customer, Pickup Time, Order Number or Provider by selecting the relevant radio button.
A manifest for a web order can be obtained by selecting the relevant order, and using the Reprint Manifest button.
While viewing the Pending orders, an order can be released to production by highlighting in and using the Release Order button.
Any web order can be recalled to the screen by selecting the order and using the Edit Sale button.
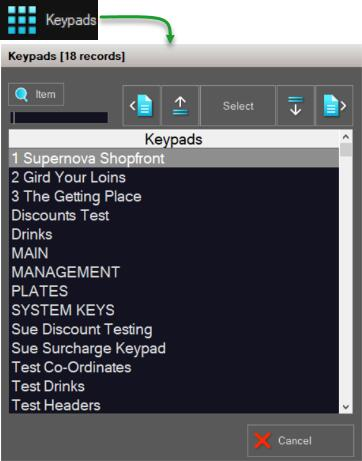
Keypads
This button displays the Keypads File and allows you to select which keypad is displayed. Implement the keypad you want by selecting the keypad and then pressing the Select button. The keypads may be scrolled through using Previous/Next Page/Item buttons.
Zoom Sale
This button allows you to magnify a sale currently showing in the display window.
It is useful if an item needs to be deleted or amended in quantity. The items in the display window are presented in a much larger format.
You may choose to view the sale items Group by Class or Chronological. Choose the relevant radio button to change the display.
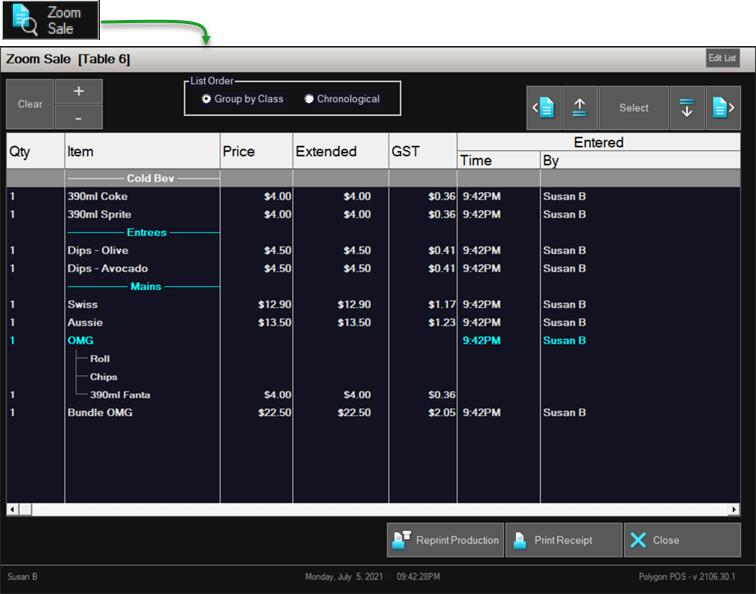
- To increase an ordered quantity of an item, highlight the item and click the + (plus) button.
- To decrease an ordered quantity of an item, highlight the item and click the - (minus) button.
- To remove an item from an order, highlight the item and click the C (Clear) button.
- To change item ingredients, double click the item to reopen the sale entry screen. Make the relevant changes and choose OK to save. Note: This option is available for QSO items only.
- To reprint a production docket for this order, click the Reprint Production button.
- To print a customer receipt for this order, use the Print Receipt button.
- Use the Close button to exit the Zoom Sale screen.
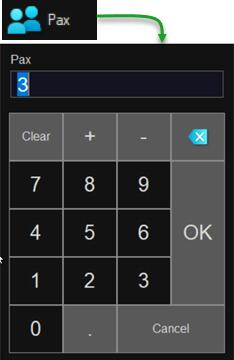
Pax
This button allows you to view, enter or change the number of covers applicable to a table. If covers have already been entered, the existing number of covers will already be listed in the Pax entry field.
Note: The terminal may be programmed to prompt for covers each time a new table is opened.
Bundles

Please see the section Managing Bundle PLUs at POS for details on this feature.
Floorplan
Use this button to return to the floorplan at will.

You may want to do this:
- When finished with one sale and about to start another, or
- If an OTC sale in progress now needs to be saved to a table.
See the section Floorplans for detailed information on using the floorplan.
Keypad Name and Navigator
The name of the keypad currently displayed is shown in this section of the toolbar. You can use the navigation arrows (Previous | Next) to move between recently used keypads.

Customer Details
Any details that have been collected about the customer for the current sale are accessible in this section of the toolbar.
The customer name and loyalty details are displayed (reward points and/or member cash).
Other details which can be viewed by using the Customer Details button include the name, loyalty member number, mobile phone (as provided by the member details, collected by sale type prompts, or included with online orders).
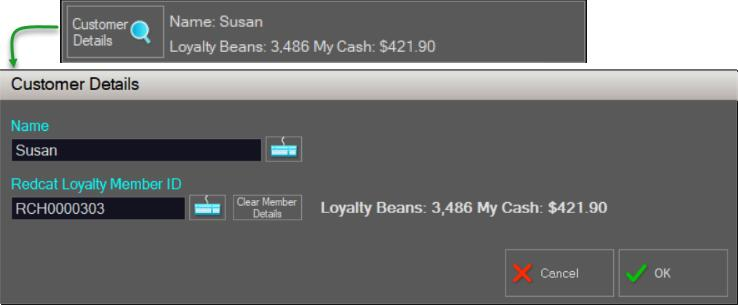
The detail available in the Customer Details tab, and the workflow associated with it will vary dependent on the Sale Type configuration and prompt settings. To learn more about configuring Sale Types click here. To see more details on the Customer Lookup workflow at POS click here.
The next article in this series is: